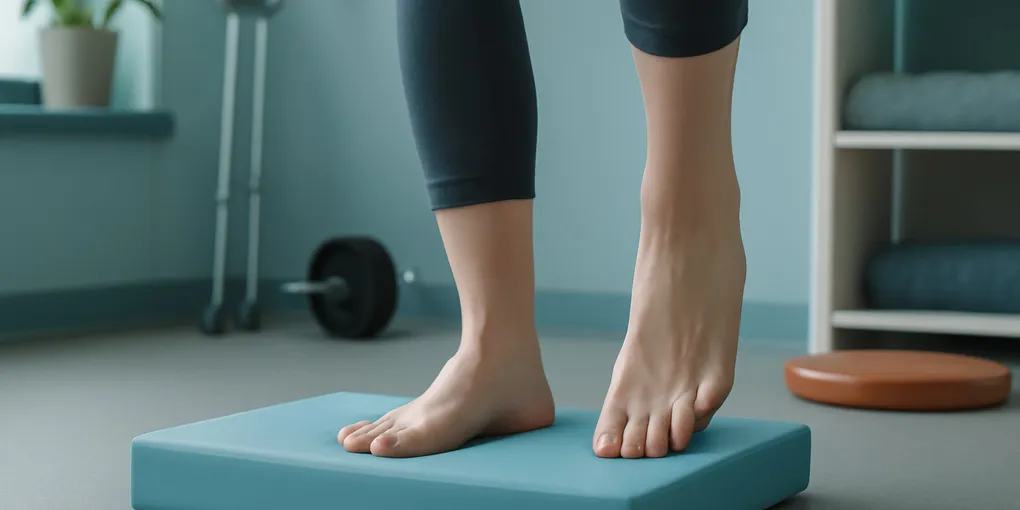
Balance Pad Ankle Stability Protocol: Wobble Work That Does Not Pretend to Replace Strength
ProtocolQuick picks
AIREX Balance Pad
★ Top pick Premium foam pad- Best Use: Frequent balance work where foam feel and durability matter
- Caveat: More expensive than generic foam pads
Yes4All foam balance pad
Budget home option- Best Use: Home users testing ankle and foot-control drills
- Caveat: Check dimensions and firmness before buying
TheraBand resistance band set
Strength add-on- Best Use: Ankle eversion, inversion, plantarflexion, and dorsiflexion strength
- Caveat: Bands complement balance work; they do not replace progressive loading
Bottom line
A balance pad can help ankle stability training, but only if you use it as a progression tool rather than a circus trick. The goal is controlled foot, ankle, knee, and hip position. If you are flailing, grabbing furniture, or turning every rep into a near fall, the drill is too hard.
Start with a stable floor, then add the pad. Pair wobble work with strength work such as calf raises and banded ankle movements. If you need a durable foam pad, compare Search Amazon for AIREX Balance Pad. For a cheaper home start, compare Search Amazon for Yes4All foam balance pads. Add Search Amazon for TheraBand sets if ankle strength work is not already covered.
Quick picks
- Best durable foam pad: Search Amazon for AIREX Balance Pad if you will use the pad several times per week and want a firmer, longer-lasting training surface.
- Best budget home pad: Search Amazon for Yes4All foam balance pads if you are testing short ankle-control sessions before buying premium rehab gear.
- Best strength add-on: Search Amazon for TheraBand sets if your ankle plan also needs resisted inversion, eversion, dorsiflexion, and plantarflexion.
Quick protocol
- Frequency: 2 to 4 sessions per week.
- Duration: 8 to 15 minutes, not a full workout.
- Start: two-leg stance, split stance, and single-leg floor balance before unstable surfaces.
- Progress: eyes open before eyes closed, stable floor before foam, slow reaches before hops.
- Stop: pain, swelling, giving way, numbness, or loss of safe control.
Practical score
| Factor | Weight | Score | Rationale |
|---|---|---|---|
| Research | 30% | 7.5/10 | Balance and proprioceptive training have useful support for ankle-sprain recurrence reduction. |
| Evidence Quality | 25% | 7.0/10 | The evidence supports programs, not one magic pad or one drill. |
| Value | 20% | 8.0/10 | A foam pad and band set are inexpensive compared with most home-gym tools. |
| User Signals | 15% | 7.0/10 | Pad firmness, size, and durability are easy to judge after a few sessions. |
| Transparency | 10% | 8.0/10 | The limit is clear: balance work needs strength, load progression, and symptom respect. |
| Composite | 100% | 7.5/10 | A useful low-cost protocol when progressed calmly and paired with strength. |
Before you start
Use this protocol only when walking and basic calf raises are comfortable. If you recently sprained an ankle, have visible swelling, cannot bear weight normally, or feel the ankle giving way, get appropriate medical evaluation. A foam pad is not a diagnostic tool.
Research on ankle sprain management consistently emphasizes exercise-based rehabilitation, including balance and proprioceptive training, as part of reducing recurrence risk. A review on chronic ankle instability notes that sensorimotor and balance deficits are common after sprains and that rehabilitation should address more than pain alone (review). Another classic review supports proprioceptive training as a way to reduce ankle-sprain recurrence risk in athletic groups (review).
Phase 1: stable-floor control
Do not begin on the pad. Start on the floor near a wall or rack.
- Two-leg quiet stance: 2 rounds of 30 seconds. Keep big toe, little toe, and heel lightly connected to the floor.
- Split stance hold: 2 rounds of 20 seconds per side. Keep the front knee tracking over the middle toes.
- Single-leg stance: 3 rounds of 10 to 20 seconds per side. Touch the wall when needed, then reset.
- Slow calf raise: 2 sets of 8 to 12 reps. Use both legs first, then progress toward single-leg work.
Pass this phase when you can hold single-leg stance for 20 seconds without hip hiking, toe clawing, or repeated wall grabs.
Phase 2: foam pad basics
Move to the foam pad only after the floor version is boring. Place the pad on a non-slip surface with a wall close enough to touch.
Start with two-leg stance for 30 seconds. Then use split stance with the front foot on the pad. Finally use single-leg stance for short holds. The goal is quiet control, not maximum wobble. If your foot cramps, your toes may be gripping too hard.
AIREX-style pads are softer and more durable, which can make them feel more demanding. Generic pads may be firmer, cheaper, and still fine for home use. Choose size and firmness based on the drills you will actually do.
Phase 3: reaches and strength pairing
Once single-leg pad balance is controlled, add slow reaches. Reach the free foot forward, sideways, and backward while the stance foot stays quiet. Keep the pelvis level and knee controlled. Use small reach distances first.
Pair balance with strength:
- Banded eversion: 2 sets of 12 to 15 reps per side.
- Banded inversion: 2 sets of 12 to 15 reps per side.
- Standing calf raises: 2 to 4 sets of 8 to 15 reps.
- Tibialis raises: use our tibialis raise protocol if the front of the shin needs work.
Balance training improves control. Strength work improves capacity. You want both.
Phase 4: return-to-training bridge
For athletes, add sport-like tasks only after basic pad work and strength are comfortable. Examples include small pogo hops on the floor, lateral line steps, low step-downs, and controlled deceleration drills. Do not jump onto a foam pad as a first progression.
If running is the goal, use flat-ground walk-jog progression before adding trails, speed, or cutting. If lifting is the goal, make sure squats, split squats, and hinges feel stable before using unstable-surface drills as warm-ups.
See our lateral step-down protocol for a simple knee-and-ankle control bridge.
Common mistakes
The first mistake is making the drill too hard. Eyes-closed single-leg foam balance looks impressive, but it often produces compensations before it builds useful control. Earn it.
The second mistake is skipping load. If the ankle cannot tolerate calf raises, split squats, or hops when appropriate, a perfect pad hold is not enough.
The third mistake is ignoring symptoms. Repeated swelling after balance work means the total load may be too high or the ankle needs assessment.
FAQ
Can I do this every day?
Short easy drills may be fine daily, but challenging balance and strength work needs recovery. Start with two to four sessions per week and adjust based on symptoms.
Should I wear shoes?
Use shoes if you are early in rehab, on a slippery surface, or need more confidence. Barefoot work can be useful later for foot feedback, but it should not increase pain or cramping.
Are balance pads useful for older adults?
Balance training can be useful, but fall risk changes the setup. Use stable supports, avoid unsafe progressions, and get professional guidance if falls or dizziness are concerns.
What should I buy with the pad?
A simple resistance band set is the best companion purchase because ankle strength and balance should progress together.
Sources
- Chronic ankle instability and rehabilitation review: https://pmc.ncbi.nlm.nih.gov/articles/PMC6602401/
- Proprioceptive training and ankle sprain recurrence review: https://pmc.ncbi.nlm.nih.gov/articles/PMC164373/
- Balance training and ankle instability review: https://pmc.ncbi.nlm.nih.gov/articles/PMC5737043/
- Body Science Review tibialis raise protocol: /blog/tibialis-raise-shin-strength-protocol/