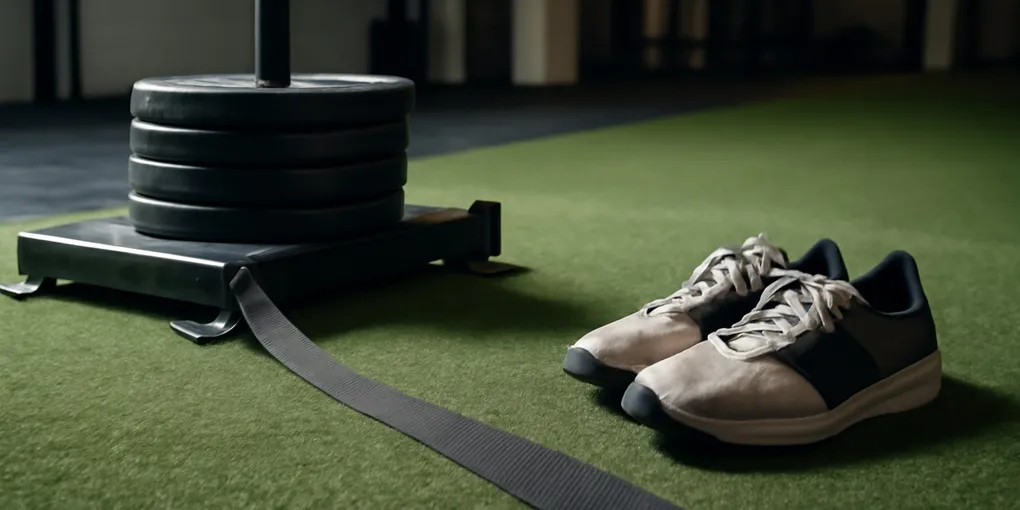
Reverse Sled Drag Protocol: Knee-Friendly Conditioning Without Turning It Into a Max-Effort Push
ProtocolQuick picks
Titan Fitness Low Bar Push Pull Sled
★ Top pick Budget sled option- Best Use: Garage or turf setups where a basic steel sled is enough
- Caveat: Check runner type, surface compatibility, and storage footprint
Rogue Echo Dog Sled
Heavy-duty reference- Best Use: Lifters who want a sturdier push-pull platform
- Caveat: Shipping, noise, and surface wear can matter more than the sled price
Spud Inc sled pulling strap
Strap upgrade- Best Use: Reverse drags where the handle or belt position must stay comfortable
- Caveat: A good strap does not make a bad surface safe
Bottom line
Reverse sled drags are valuable because they can load the legs hard without jumping, landing, or eccentric pounding. The movement is simple: face the sled, hold the strap, walk backward with short controlled steps, and keep the torso tall. The mistake is treating that simplicity as permission to pile on plates before the knees, feet, surface, and strap are ready.
For a garage or turf setup, compare a Search Amazon for low push-pull sleds with a sturdier Search Amazon for heavy duty training sleds. If your sled came with a rough rope or awkward handle, a Search Amazon for sled pulling straps can make reverse drags easier to set up.
Quick picks
- Best first buy: a low push-pull sled that matches your surface and accepts the plates you already own.
- Best heavy-use route: a sturdier sled if multiple people will push and drag it every week.
- Best comfort upgrade: a longer sled strap or belt only after the empty sled slides smoothly on your floor.
- Best skip: any sled setup that chatters, catches, or damages the surface during the no-load test.
Protocol fit
- Best fit: low-impact conditioning, quad burn, warm-ups, and finishers where running or jumping is not the right tool.
- Weak fit: acute knee injury, swelling, sharp pain, poor balance, or a surface that makes the sled jerk.
- Main setup rule: the sled should slide smoothly before the workout starts.
- Main progression rule: add distance and smoothness before adding plates.
Sled setup choices
- Low push-pull sled: best first buy for garage gyms with turf or an outdoor strip.
- Heavy-duty sled: better for shared training spaces and frequent pushing, but harder to store.
- Pulling strap: useful if the included rope is short, abrasive, or awkward on reverse drags.
- Harness or belt: optional for longer drags after you know the surface and load are right.
Reverse drag score
| Factor | Weight | Score | Rationale |
|---|---|---|---|
| Research | 30% | 6.5/10 | Backward walking and sled work have plausible knee and conditioning use, but protocols vary. |
| Evidence Quality | 25% | 5.5/10 | The strongest practical claims are about impact control, load visibility, and repeatable setup. |
| Value | 20% | 7.5/10 | One sled can support drags, pushes, marches, and conditioning intervals if you have the surface. |
| User Signals | 15% | 7.0/10 | Surface wear, runner noise, strap comfort, and storage problems show up quickly. |
| Transparency | 10% | 7.0/10 | Sled weight, runner design, post size, and strap attachments are checkable before purchase. |
| Composite | 100% | 6.6/10 | A strong conditioning tool when surface and load are controlled, not a universal knee fix. |
The starter protocol
Use this two-day-per-week version for the first two weeks:
- Warm up with five minutes of easy walking or cycling.
- Load the empty sled or add only enough weight to make the drag smooth.
- Hold the strap with elbows slightly bent and chest tall.
- Walk backward for 15 to 20 seconds using short steps.
- Rest 60 to 90 seconds.
- Complete 6 to 8 total drags.
The sled should not jerk forward, skid sideways, or pull you into a squat you did not choose. Each step should land under control with the whole foot finding the floor. If the feet slap, the knees cave, or the lower back takes over, reduce load or distance.
Why the surface matters
Sled work is surface-dependent. Turf gives predictable friction and protects floors. Rubber can work but may grab the runners. Concrete and asphalt are noisy and can chew up runners. Carpet can bunch and change resistance mid-drag.
Do a no-load test before training. Pull the sled for 10 yards and listen. If the sled chatters, digs in, or jumps, that surface is not ready for hard reverse drags. A cheap sled on the right surface beats an expensive sled on a floor it damages.
Knee and foot checks
Reverse sled dragging often feels knee-friendly because the load is mostly concentric and the steps are short. That does not make it medical treatment. People with swelling, locking, giving-way, recent trauma, or sharp pain should get evaluated. The AAOS knee conditioning program emphasizes controlled strengthening and symptom-appropriate exercise selection (AAOS knee conditioning).
Keep the knees tracking over the feet. Do not let the strap pull you into duck-footed shuffling. If you feel pain at the front of the knee, shorten the stride and lighten the sled. If the Achilles or calf complains, slow down and consider whether the backward steps are too long.
How to progress
Week three can move to 20 to 30 second drags or 8 to 10 total rounds. Add load only when every round looks the same. A useful working set feels like a quad and breathing challenge, not a tug-of-war.
For conditioning, use 8 to 12 rounds of 20 seconds on and 60 seconds easy. For warm-ups, use 3 to 5 light drags before squats or split squats. For knee-control work, pair light drags with our lateral step-down protocol rather than replacing all strength work with sled laps.
Equipment buying notes
A low push-pull sled is enough for most home users if it accepts standard plates and has runners that match your surface. Heavy-duty sleds are better if multiple people will use them, if you also want pushes, or if the sled will live in a garage.
A good strap should be long enough that the sled does not clip your heels, wide enough that it does not cut into the hands or belt, and simple enough to attach quickly. Harnesses and belts are useful for longer drags, but they are not necessary on day one.
Reverse sled drag FAQ
Can reverse sled drags replace squats?
No. They are a conditioning and accessory-loading tool. Squats, split squats, step-downs, and leg presses load the body differently.
Should my knees stay behind my toes?
No simple toe rule controls this exercise. Focus on smooth steps, knee tracking, and no sharp pain rather than freezing the knees behind an imaginary line.
What shoes work best?
Flat training shoes with enough grip usually work well. Avoid slick soles, unstable running shoes, or sandals.
How do I know the load is too heavy?
The sled is too heavy if you have to lean back hard, jerk the strap, twist the hips, or shorten the set because the sled will not move smoothly.
Sources
- AAOS knee conditioning program: https://orthoinfo.aaos.org/en/recovery/knee-conditioning-program/
- CDC adult physical activity basics: https://www.cdc.gov/physical-activity-basics/guidelines/adults.html
- Backward walking and knee osteoarthritis review: https://www.ncbi.nlm.nih.gov/pmc/articles/PMC6383447/
- Body Science Review lateral step-down protocol: /blog/lateral-step-down-knee-control-protocol/
Frequently Asked Questions
- They can be a useful low-impact conditioning and quadriceps-loading tool for some people, but they are not a treatment for knee injury.
- Start light enough that you can step backward smoothly for 15 to 30 seconds without twisting, limping, or yanking the strap.
- Turf is ideal. Concrete, asphalt, carpet, and rubber floors change friction, noise, and wear, so check the sled runners and surface before loading.
- Handles are simple for short drags. A belt can reduce grip fatigue, but only if it fits securely and does not pull the hips awkwardly.