Landmine Attachment Setup Protocol: How to Train Presses and Rows Without Abusing Your Wall
ProtocolQuick picks
Floor or rack-mounted landmine attachment
★ Top pick Safest starting point- Best Use: Home gyms with a barbell, plates, and enough floor space for angled presses and rows
- Caveat: Match sleeve diameter, rack compatibility, and floor clearance before buying
Bottom line
A landmine attachment is one of the simplest ways to make a barbell more useful in a small home gym. It turns one end of the bar into a pivot point, letting you press, row, squat, and hinge through a guided arc. Most buyers should search Amazon for a barbell landmine attachment instead of jamming the bar into drywall or baseboards.
This protocol is for setting up the station safely, not inventing a flashy workout. The goal is a stable pivot, controlled bar path, enough floor clearance, and exercise choices that match your experience.
Step 1: choose the anchor style
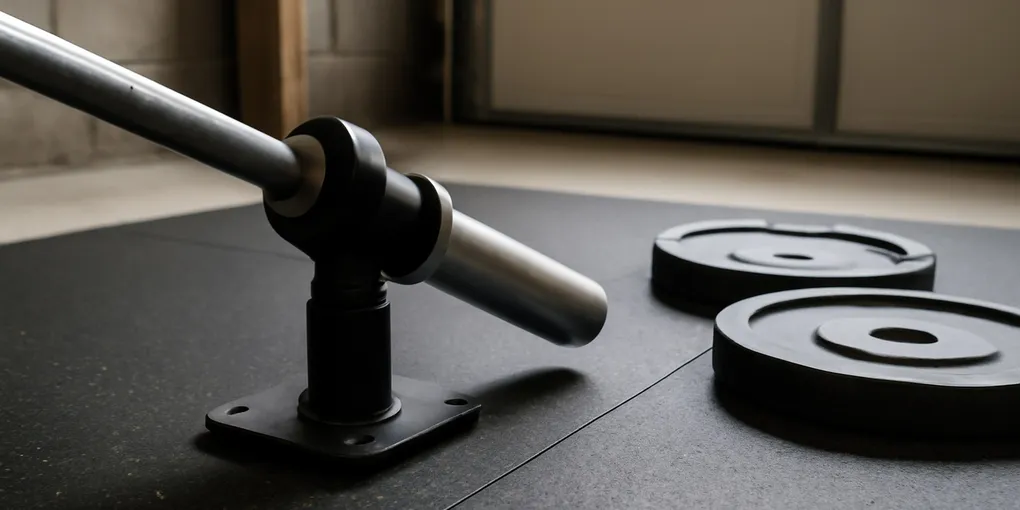
A floor plate landmine sits under weight plates and uses their mass to keep the pivot in place. It is portable and works for many garage gyms. A rack-mounted landmine attaches to a power rack or squat stand, which can feel more stable if the rack is heavy and the attachment fits the tubing. A wall or floor-mounted unit can be excellent, but only if installed into suitable structure.
For most home users, the easiest first purchase is a floor or rack-mounted unit. Check whether it accepts a standard Olympic sleeve and whether your bar length gives enough space for the exercises you plan to perform.
Step 2: set the area before loading
Clear a semicircle around the free end of the bar. You need room for the plates, your stance, and the arc of the bar. If the bar can hit a mirror, storage shelf, bike, or wall, move the station before adding weight.
Place the pivot so the sleeve can rotate without scraping. Add plates only after the empty-bar path feels smooth. If the pivot shifts when the bar moves, stop and reset. The anchor should not travel across the floor during rows or presses.
Step 3: start with the boring exercises
Begin with two-hand landmine presses, half-kneeling presses, supported rows, and landmine squats. These exercises let you learn the arc without needing speed or rotation. Keep the ribs down, let the shoulder blade move naturally, and avoid turning a press into a low-back lean.
After several sessions, add single-arm presses, split-stance presses, Romanian deadlift variations, and rotational work if you can control the bar. If your setup turns every rep into a balance fight, reduce load or return to a simpler exercise.
Step 4: progress load conservatively
The landmine path can make weight feel friendlier than a strict vertical barbell press, but it still loads joints and tissue. Add small plates first. Track the exercise, stance, handle, and load because landmine variations are not interchangeable.
If you are also doing pressing volume with dumbbells or wraps, review our best wrist wraps for strength training for support decisions, but do not use wraps to push through wrist pain.
Step 5: inspect the setup monthly
Check the pivot bolt, sleeve, rack pin, and any mounting hardware. Wipe chalk and grit out of the sleeve. Look for floor gouges, loose rack movement, and plate creep. A landmine station is simple, but it still deserves inspection because the loaded end of the bar can move fast if the pivot fails or slides.
Handles and accessories worth delaying
A neutral-grip row handle can make landmine rows more comfortable, but it should not be the first purchase. Run two weeks with the bar sleeve, a towel grip if needed, and a basic handle only if rows are clearly staying in the plan. If the row is your main exercise, search Amazon for landmine row handles after confirming your bar sleeve and plates leave enough room.
Press handles are even more optional. Many lifters can use the sleeve or bar end for two-hand presses and half-kneeling single-arm presses. Add a Viking press handle only if standing presses are a planned staple and your ceiling height, rack position, and shoulder comfort all check out.
Common mistakes
Do not use a bare wall corner as a long-term solution. It can damage the wall and lets the bar shift under load. Do not overload rows before you know whether the anchor moves. Do not place the pivot where the bar crosses a walkway. Do not assume a rack-mounted landmine fits every rack tube or hole pattern.
Also avoid buying specialty handles before you know which exercises you will keep. A basic landmine plus the bar is enough to test presses, rows, squats, and hinges. Add a V-handle or neutral-grip handle only if rows become a regular part of the plan.
Reader test
Buy a landmine attachment if you already own a barbell and want joint-friendly presses, rows, and squat patterns in a small space. Skip it if you do not have a stable anchor location or enough room for the bar arc. Your first win is not a huge exercise menu; it is a pivot that stays put through controlled reps.
Sources and safety notes
Landmine work is resistance training, so the same broad progression rules apply: build gradually, use exercises that match your current ability, and leave pain questions to clinicians. The CDC’s adult activity guidance includes at least two days per week of muscle-strengthening work, while WHO guidance supports regular strengthening and balance work across adulthood (CDC: adult physical activity; WHO: physical activity fact sheet).
FAQ
Can I put a barbell in a corner instead of buying a landmine?
You can in a pinch, but it is not the best long-term setup. A dedicated landmine protects the room and gives a more predictable pivot.
What exercises should beginners start with?
Start with two-hand presses, half-kneeling presses, supported rows, and landmine squats. Add rotation later.
Do I need an Olympic bar?
Most attachments are designed for Olympic bar sleeves. Check sleeve diameter and attachment compatibility before buying.